


The transition from a “WordPress user” to a “WordPress developer” is a defining moment in a coder’s career. While millions of people know how to install a theme or write a blog post, true mastery involves understanding the architecture, the database, and the execution order that happens behind the scenes. In 2026, the demand for developers who can build lightweight, high-performance, and secure WordPress environments has never been higher.
The most effective way to master this ecosystem is to stop relying on visual builders and start understanding the core. This step-by-step guide to WordPress mastery will take you through the foundational stages—from local setup to custom development—ensuring you build a solid technical foundation.
Phase 1: The Local Development Environment
Before you touch a live server, you must have a local laboratory. Developing on a live site is a common mistake to avoid, as one syntax error can bring down an entire business.
- Tools of the Trade: Use modern environments like LocalWP, DevKinsta, or Docker. These allow you to mirror the production server’s PHP version and SQL engine.
- The Benefit: Local development is significantly faster because there is no latency. You can iterate on code changes instantly without waiting for FTP uploads.
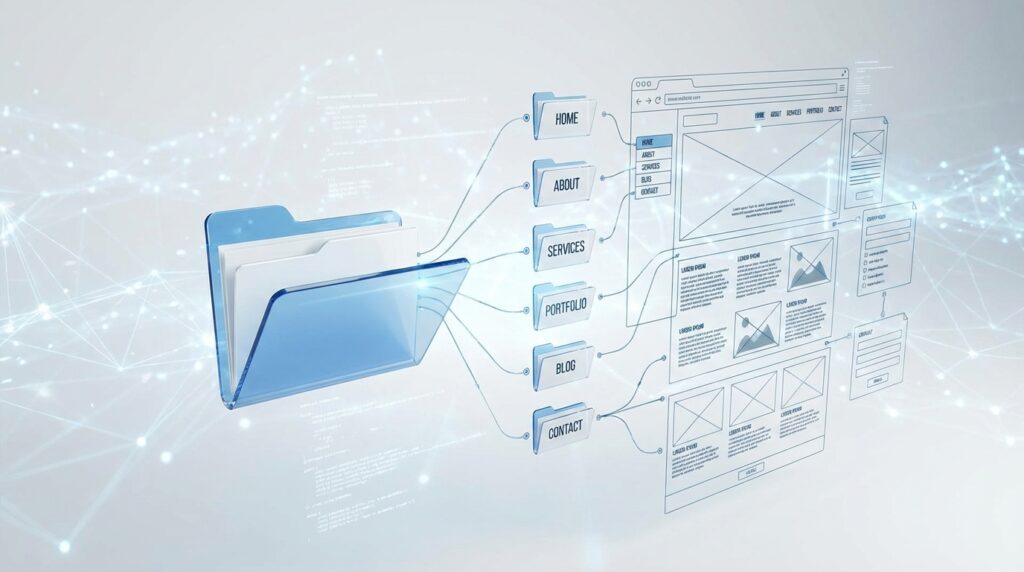
Phase 2: Understanding the WordPress File Hierarchy
A master developer knows where every file lives. WordPress is organized into three main directories:
- wp-admin: The engine room (Never touch these files).
- wp-includes: The library of core functions (Never touch these either).
- wp-content: This is your playground. This is where your themes and plugins reside.
Based on industry research, the most critical file for any developer is wp-config.php. This file controls your database connection, security keys, and the “Debug” modes we’ve discussed in previous guides.
Phase 3: Mastering the Template Hierarchy
How does WordPress know whether to display index.php, single.php, or category.php? It follows a strict “Template Hierarchy.”
- If you create a file called
category-news.php, WordPress is smart enough to use that specific layout only for the “News” category. - The Pro Tip: Always keep a copy of the official WordPress Template Hierarchy visual map bookmarked. It is the “map” of how the software thinks.
Phase 4: Hooks, Actions, and Filters
This is the “DNA” of WordPress development. If you don’t understand hooks, you aren’t developing; you’re just hacking.
- Actions: Allow you to add functionality at specific points (e.g., “When the header loads, add this tracking script”).
- Filters: Allow you to modify data (e.g., “Before the title is displayed, make it all uppercase”).
- Why it matters: Using hooks allows you to change how a theme or plugin works without ever editing the original code. This makes your work “update-proof.”
Phase 5: The Database and the WP_Query Class
To be a master, you must understand how data is retrieved. The WP_Query class is the most powerful tool in your arsenal. Instead of writing raw SQL, you use this class to fetch exactly the posts, pages, or custom products you need.
- Performance Note: Always use
wp_reset_postdata()after custom queries to ensure you don’t “pollute” the global$postvariable, which can lead to layout breakages.
Phase 6: Security and Sanitization
As we’ve covered in our SQL Injection guide, a developer’s primary job is protection.
- Escaping Output: Never use
echo $variable;without an escaping function likeesc_html()oresc_attr(). - Nonces: Use “Nonces” (numbers used once) to verify that a request is coming from your site and not a malicious third-party script.
Final Thoughts
WordPress mastery doesn’t happen overnight. It is a journey of moving from the “outside in”—starting with the dashboard and ending with the core PHP files. By following this roadmap, you aren’t just learning a tool; you are becoming an engineer capable of building the future of the web.
Leave feedback about this